


Storage is a necessity for every bathroom. Renting a home does not mean you have to compromise on functionality and style in your bathroom. Thanks to easy-to-install, no drill bathroom furniture like freestanding vanity units, renters can add bathroom storage without damaging the wall or tiles. Freestanding vanity units are not usually a permanent fixture, making them a perfect choice for rented homes or temporary living spaces.
In this blog, I will explain how freestanding bathroom furniture offers a hassle-free way to enhance storage with no mess, no power tools.
Why “No Drill, No Mess” Bathroom Furniture Matters for Renters
Renters need a solution that leaves bathroom walls and tiles in pristine condition. Traditional storage solutions installation often involves gouge tiles, cracked grout, etc, that may violate the lease agreement or result in loss of the initial deposit, including charges for extra repairs when vacating the property. In contrast, true no-drill vanities
- Eliminate wall damage: Most such bathroom furniture, such as freestanding vanity units, is installed using clamps, heavy-duty adhesive, or tension hardware, eliminating the possible wall damage.
- Speed up install: Installation is easier and quicker, often requiring a few minutes to an hour for completion, even without any installation process.
- Simplify removal: At the lease ending, you can easily remove the fixture, unhook, unseal, and go.
Advantages of Easy-to-Install Bathroom Furniture For Renters.
Here is how you can benefit from easy-to-install bathroom furniture.
- These storage units can fit well into any medium or large bathroom. Most of these will fit alongside the wall as an independent furniture unit.
- Floor-standing vanities are also easy to install and considered to be suitable for a classic or traditional look. However, there are designs that a perfect for even contemporary style bathrooms too.
• Compared to the wall-hung vanities with sinks, floor-standing vanities offer considerably more storage capacity for bathroom essentials. - And finally, you should not ignore its space-saving features. Some bathroom furniture that is easy to install is available with a basin, which will eliminate the need for a separate sink in the bathroom.
No Drills and No Dust Bathroom Furniture Options
Here, we have various easy-to-install bathroom furniture options available in the UK.
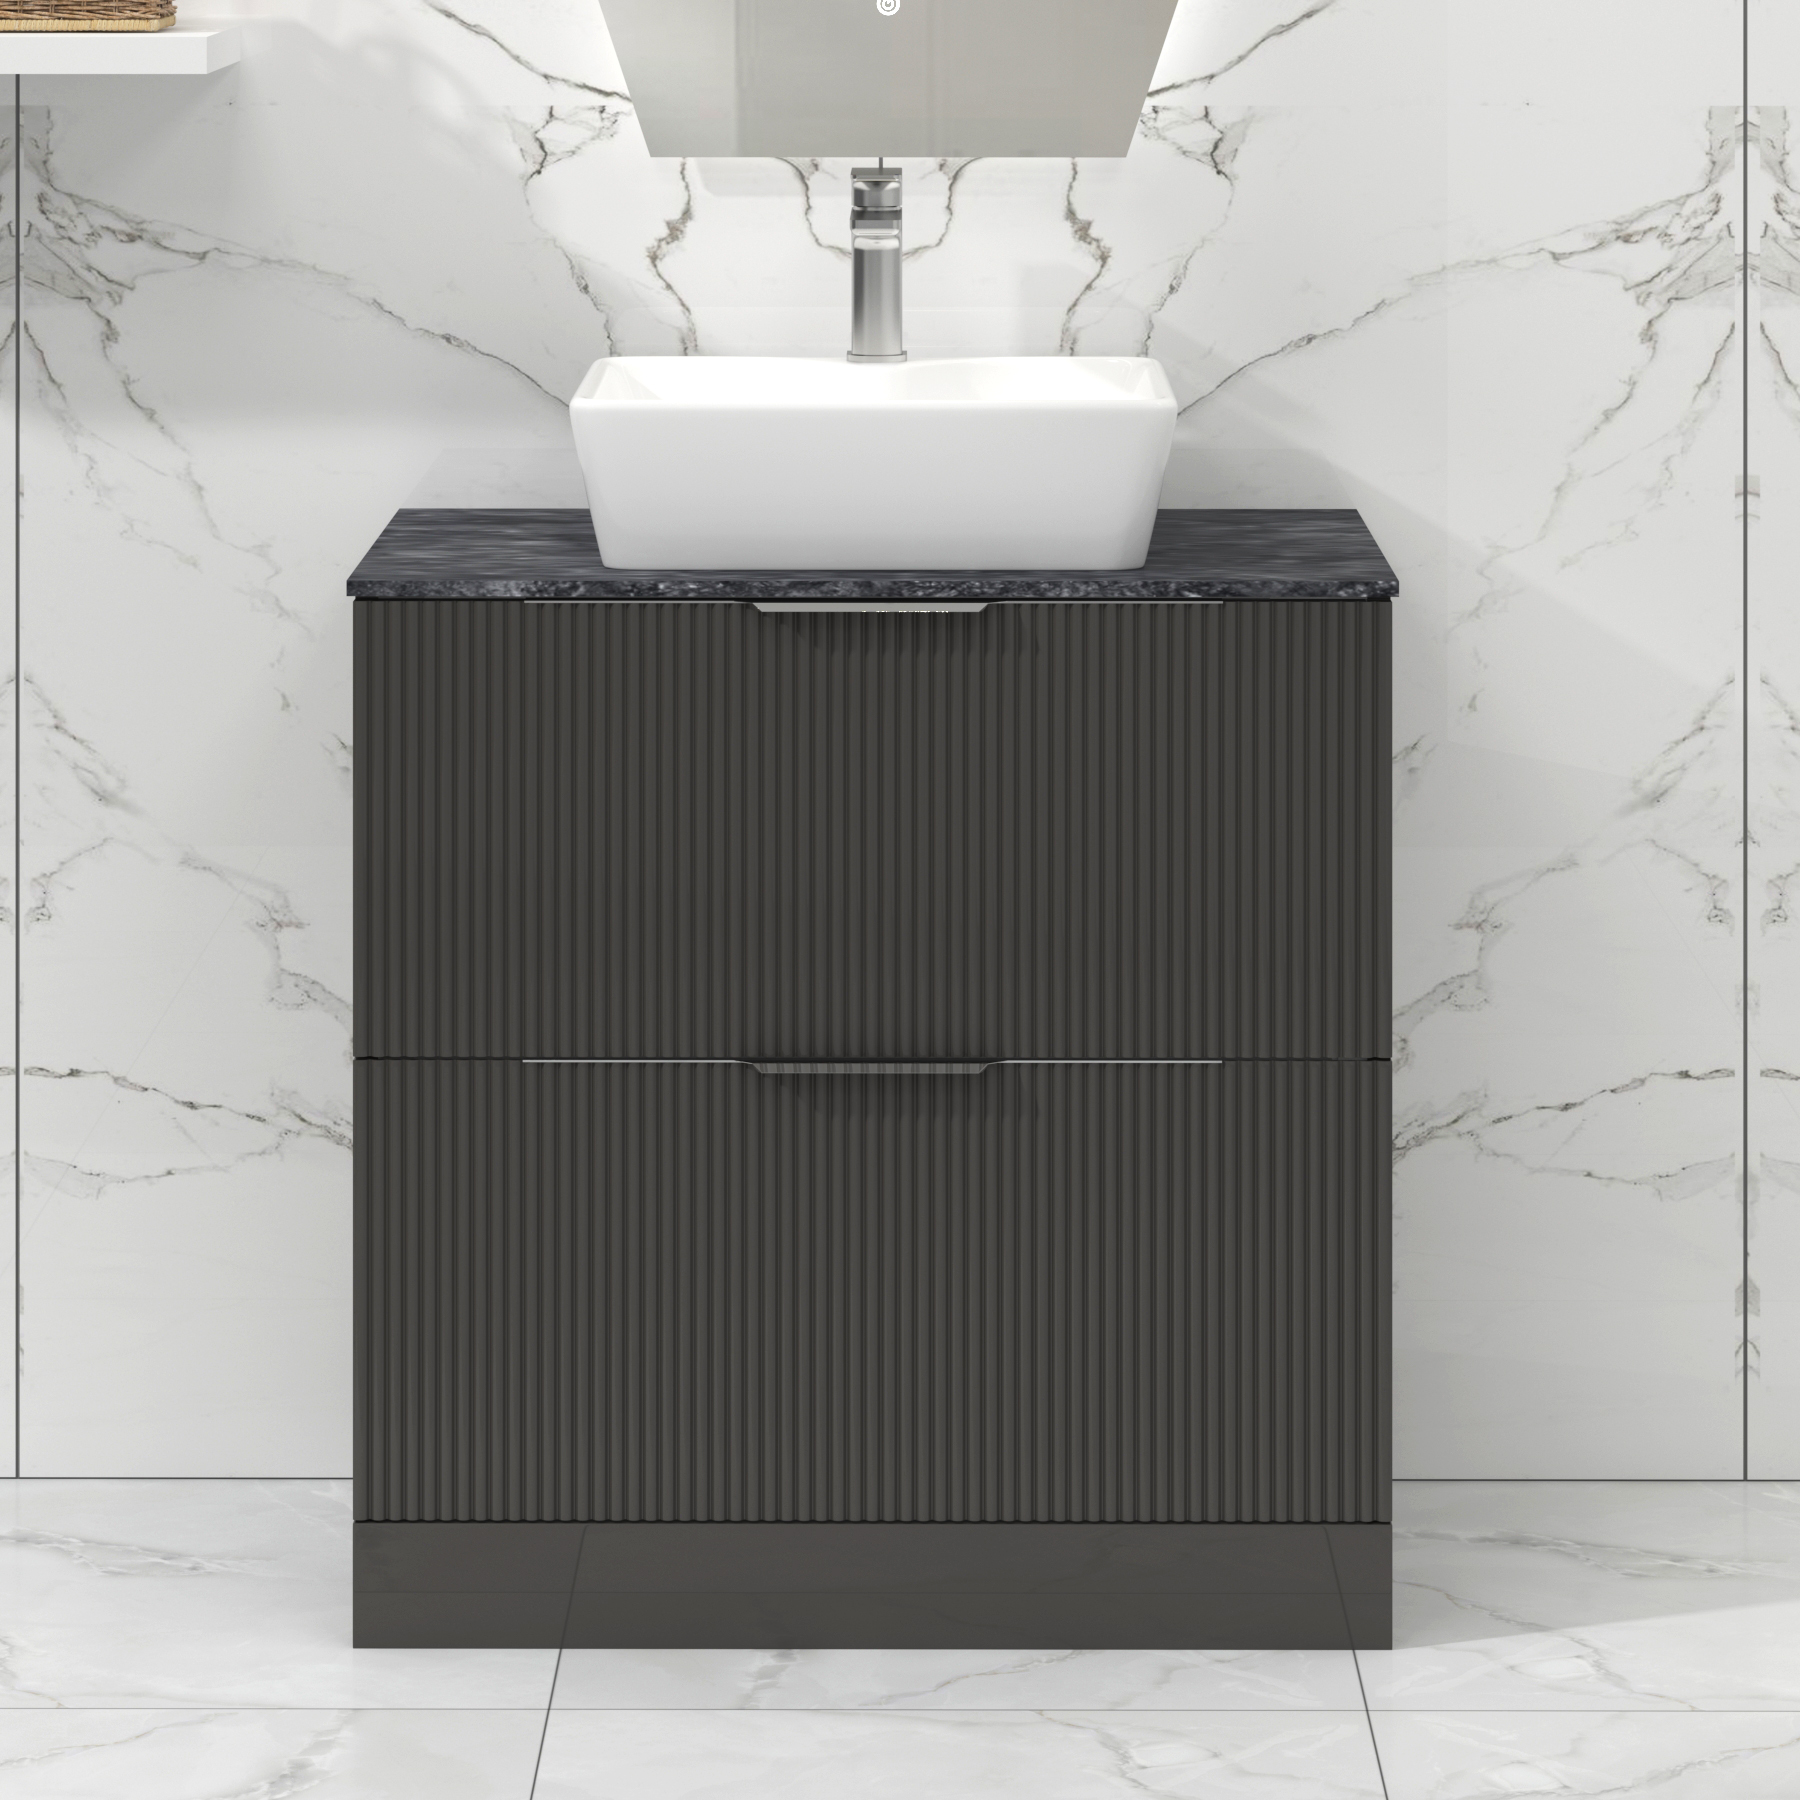
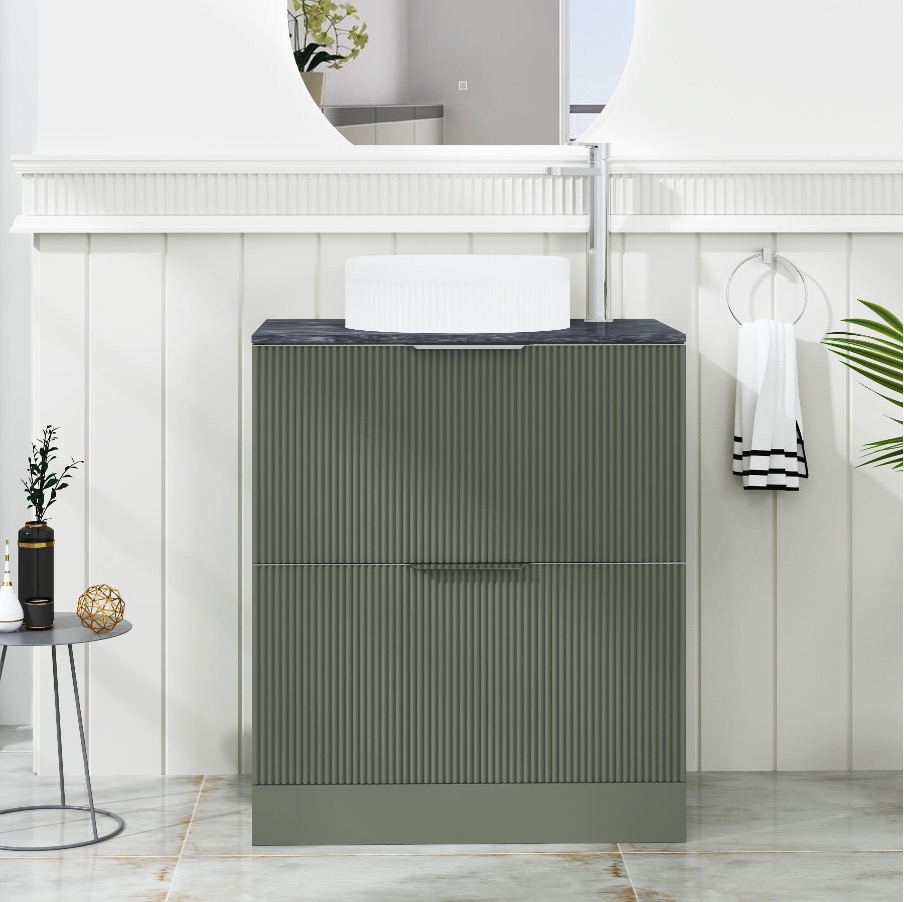
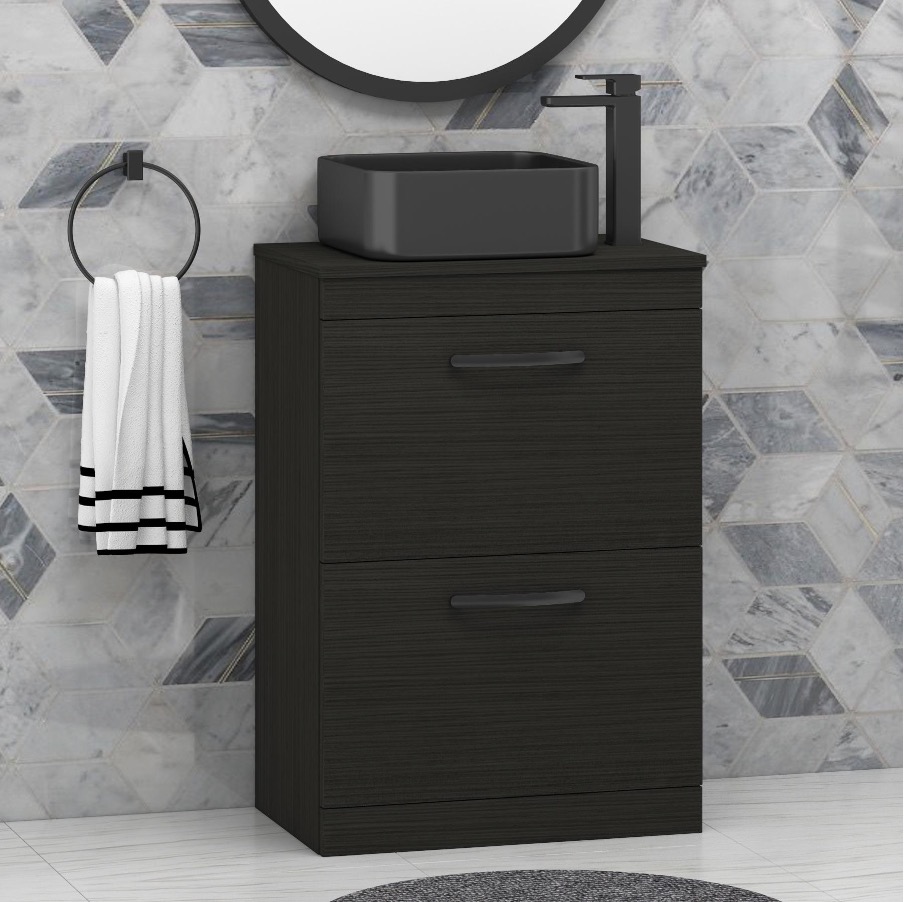
1. Freestanding Vanity Units:
A popular choice due to easy installation and ample storage capacity. These bathroom cabinets come with a basin on top with concealed storage under. You can choose from a variety of options available in terms of sizes, colours, and styles suitable for both contemporary and traditional bathrooms.
2. Adhesive Bathroom Cabinet
Also known as no-drill bathroom cabinets are available in wall-mounted styles. The installation is quick and easy due to a strong adhesive pad used for fitting.
3. Self-Adhesive Bathroom Shelf
A floating shelf is an excellent choice if you need an open storage solution. These floating shelves fit on the wall with waterproof adhesive backing. It’s a nice small storage that allows you to store everyday bathroom essentials with easy access.
4. Freestanding Slim Storage Tower (Tallboy Cabinets)
Another great option, especially for small bathrooms and cloakrooms. These narrow vertical cabinets can even fit in a tighter space. They will not require any installation, perfect for storing toiletries or spare toilet rolls.
5. Towel Rail with Adhesive Mount
In case you need a quick fix towel rail for a rented property, simply look for the one with an adhesive mount. These relatively small fixture allows for hand towels near the sink and shower.
How It Works: A Quick “Slide-and-Set” Installation
Here is how this works in a nutshell.
Install your vanity unit with these five simple steps.
Step 1 – Start with removing your old sink or any other fixture, if any:
Make sure you stop the water flow before disconnecting the pipelines. Once you have severed the pipes, loosen the screws that fix the washbasin to the wall. In case there is a sealant present, you would need to remove it too, using a blade.
Step 2 – Take the measurements for your storage unit:
Mark the points where you want to install the unit to prevent any unevenness. Always place the vanity in front of the plumbing outlets for an easy fit.
Step 3 – Fix the unit to the wall and connect the plumbing lines:
After adjusting the vanity on the same level as the outlets, you may only need something like adhesive if you want to secure or fix it next to the wall.
Step 4 – Attach the basin on top in case of freestanding vanity:
Mark the places on the vanity top where you want to place the washbowl. Use a sealant to fix the two and wait for at least 24 hours for the adhesive to get a firm grip. Now, install your fancy faucet that goes well with the whole theme of the unit.
Step 5 – Perform the final checks:
After everything is installed, make sure you do the final checks to make sure everything is working properly. If it’s a vanity unit, release the water to check for any potential leaks. If there are none, congrats! You have successfully installed your floor-standing vanity unit with a basin.
Ending Thoughts
Necessity is the mother of invention. If you need bathroom storage and are avoiding it due to possible wall damage during the installation, think again. We have discussed a variety of options that are available. Simply follow this guide, and you can enjoy a highly functional and aesthetically pleasing bathroom furniture that will be perfect for your needs.

